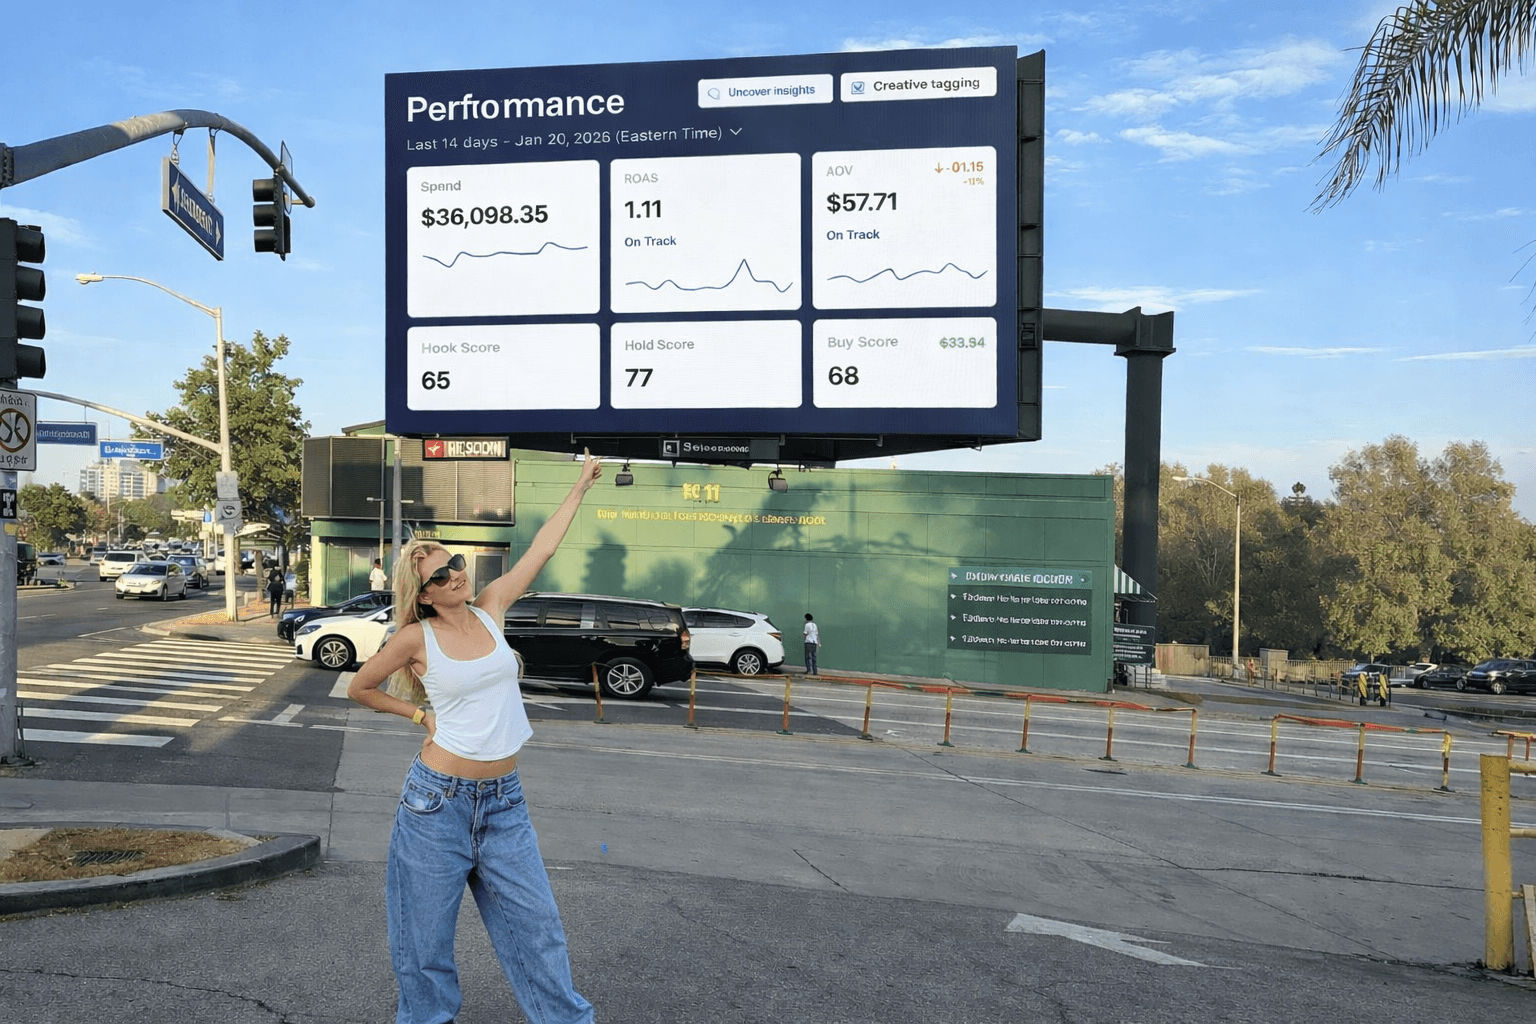
Creative Strategy
How to Use Higgsfield Properly (Without Wasting Credits)
This guide walks you through the full process step by step so you know exactly which features to use and when.

Silja
•
10 min
How to Use Higgsfield Properly (Without Wasting Credits)
Higgsfield is one of the most powerful AI platforms available right now, especially for paid ads.
But every time you open it, it’s easy to feel stuck. There are too many models, too many tools, and too many ways to spend credits fast without knowing what you’re doing.
After testing every major feature, running hundreds of generations, and figuring out what consistently works, there’s a clear way to approach it. This guide walks you through the full process step by step so you know exactly which features to use and when.
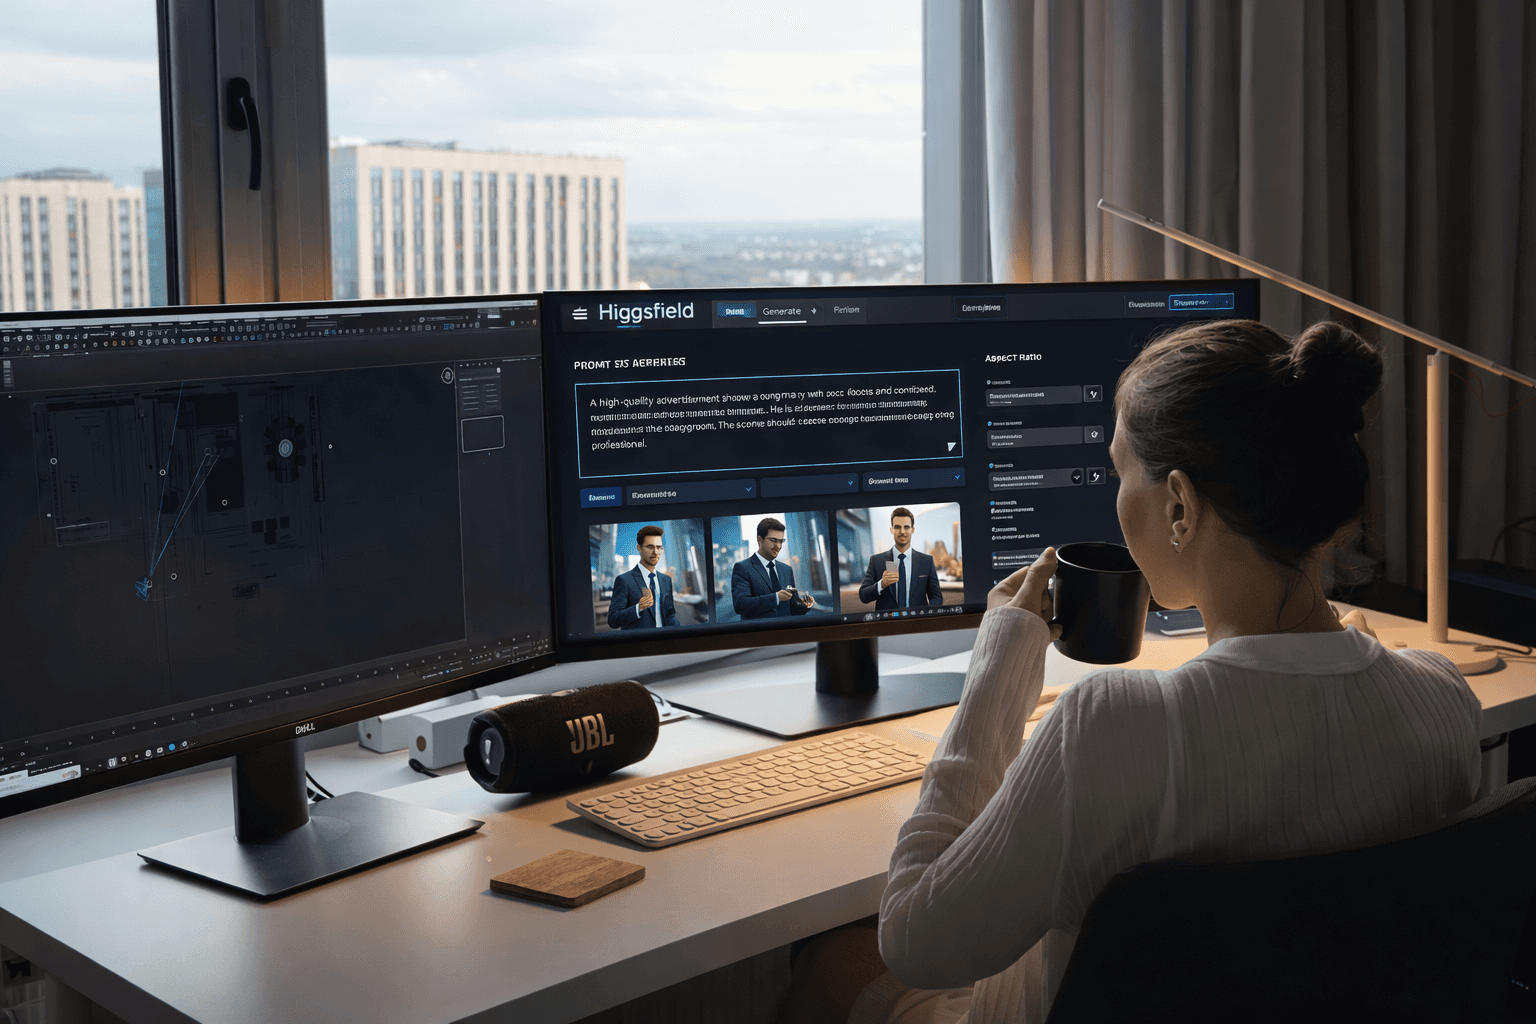
Start with Image Generation
When you log in, the homepage shows real-time content being generated. At the top navigation bar, everything is organized into sections: Image, Video, Edit, Character, and Apps.
Click on Image first.
This takes you into the image generation workspace. At the bottom, you’ll see the prompt box. Next to it is the model selector. This is where most people make their first mistake.
Each model behaves differently.
If you want highly realistic output, Nano Banana Pro is one of the strongest choices. It consistently produces detailed, believable images compared to more stylized or experimental models.
Quality Settings
With Nano Banana Pro, you can generate in 1K, 2K, or 4K.
2K is usually the sweet spot. You get excellent quality without burning unnecessary credits.
You can also choose how many variations to generate. Setting this to four makes sense because AI rarely produces the strongest result on the first try. Having multiple variations prevents you from regenerating the entire prompt.
Writing the Prompt
Most people overcomplicate prompts.
You don’t need a huge paragraph. You need clarity.
For example:
A vintage astronaut sitting at a small café table on the surface of Mars, sipping coffee from a porcelain cup, red dust swirling in the distance, Earth visible in the sky, soft cinematic lighting, shallow depth of field, ultra realistic, high detail.
That’s specific enough to guide the model while still leaving room for interpretation.
Once generated, open the variations full screen. Look closely at lighting, texture, and detail. If one version stands out, you can download it, edit it, or send it directly into video generation.
But before moving into video, it’s worth understanding one of Higgsfield’s strongest areas.
The Apps Section (Where Most People Underuse the Platform)
At the top, click Apps.
This section is organized into tools like camera and motion, enhancement and style, video editing, and trending utilities. Each app solves a specific problem.
One of the most useful tools here is Shots.
Shots takes a single image and generates nine different camera angles from it. Instead of regenerating a scene from scratch, you upload your existing image and let Higgsfield create new perspectives.
This is especially powerful if you’re building video content. You can select the angles you like and upscale only those, saving credits and maintaining scene consistency.
Enhancing Realism
If your image includes a person and something feels slightly artificial, go back to Apps and select Skin Enhancer.
You’ll see three options:
Soft skin
Realistic skin
Imperfect skin
Soft skin tends to flatten detail. Imperfect skin adds texture. In most cases, Realistic skin provides the best balance by refining texture and correcting lighting inconsistencies without making the result look overly processed.
The differences are subtle but important, especially for ads or thumbnails where believability directly impacts performance.
Moving Into Video
Creating images is only part of what Higgsfield can do. The real power shows up in video.
Click on Video at the top.
You have two options:
Image to video
Text to video
Image to Video
Upload your image. Once it appears in the preview, select your model.
Currently, some of the strongest options are:
Kling 3.0 for cinematic camera movement and realistic physics
V03.1 for fast cinematic content
Sora 2 for maximum realism
If you’re starting from an existing image, your prompt only needs to describe motion and camera behavior.
For example:
The astronaut discovers a glowing alien artifact half buried in the sand, reaches down and pulls it free, energy pulses outward, camera circles dramatically around them, cinematic motion.
Set the duration and generate.
The key difference between image-to-video and text-to-video is control. With image-to-video, you already know your starting frame. That makes the output more predictable.
Text to Video
If you remove the image and generate directly from text, you’re creating everything from scratch.
Your prompt now needs to describe the character, environment, action, and camera movement.
This gives you more creative freedom, but also introduces more unpredictability. The model has to interpret everything without a visual anchor.
Cinema Studio (Advanced Control)
Cinema Studio changes the level of output entirely.
From the homepage, click Cinema Studio.
Before writing your prompt, you choose your camera profile and lens. Options include premium large format digital, classic anamorphic, warm cinema prime, and others. Each one affects depth of field, lens flares, contrast, and overall mood.
For example, classic anamorphic creates widescreen-style horizontal flares. Clinical sharp prime produces a cleaner, high-contrast image.
You’re no longer just writing prompts. You’re shaping the look of the scene the way a cinematographer would.
Generate your image, then switch to video mode to animate it while preserving that cinematic profile.
Character Creation (For Consistency)
If you want consistent characters across projects, go to Character → Create Character.
Upload at least 20 reference photos that show:
Clear lighting
Multiple angles
Different expressions
The more variety, the better the results.
Once processed, that character can be reused in new environments and scenarios while maintaining facial consistency. This solves one of the biggest challenges in AI generation.
Asset Management
As you generate more content, organization becomes essential.
The Assets Library stores all images and videos you create. You can organize them into folders by project, making it easier to manage ongoing campaigns.
Why Higgsfield Feels Overwhelming
It isn’t overwhelming because it’s complicated.
It’s overwhelming because it gives you access to almost everything at once: multiple high-end models, camera simulation, motion control, character training, editing tools, and cinematic presets.
Once you understand how the sections connect, it becomes a workflow rather than a collection of features. And that’s when it starts producing consistently professional results.